Docker
Start with Docker part 2 - First .NET Core Container
In the previous tutorial, we learned basic concepts of working with Docker. This tutorial will focus on creating and deploying basic console .NET Core 2.1 application into the Docker container. We will also try to interact with our new container sending some stdin to it.
Small Review
In the previous tutorial, we learned basic concepts of working with Docker. This tutorial will focus on creating and deploying basic console .NET Core 2.1 application into the Docker container. We will also try to interact with our new container sending some stdin to it.
Let's prepare!
Through the whole tutorial, I will be using Visual Studio Code as a code editor. Let's create a new project called "DockerTutorial1.1". To create new C# .NET Core 2.1 project in Visual Studio code, simply follow the tutorial. If you are using Visual Studio for Windows, Create new .NET Core Console Application. To check if our project uses .NET Core 2.1, open DockerTutorial1.1.csproj.
In Visual Studio for Windows:
- Right click on your project in solution explorer and select Unload Project
- Right-click on the project (tagged as unavailable in solution explorer) and click "Edit DockerTutorial1.1.csproj". This will open up your CSPROJ file for editing.
- After making any changes you want, save and close the file. Right-click again on the node and choose Reload Project when done.
In Visual Studio Code:
Click on DockerTutorial1.1.csproj in the Explorer. The output should be similar to that:
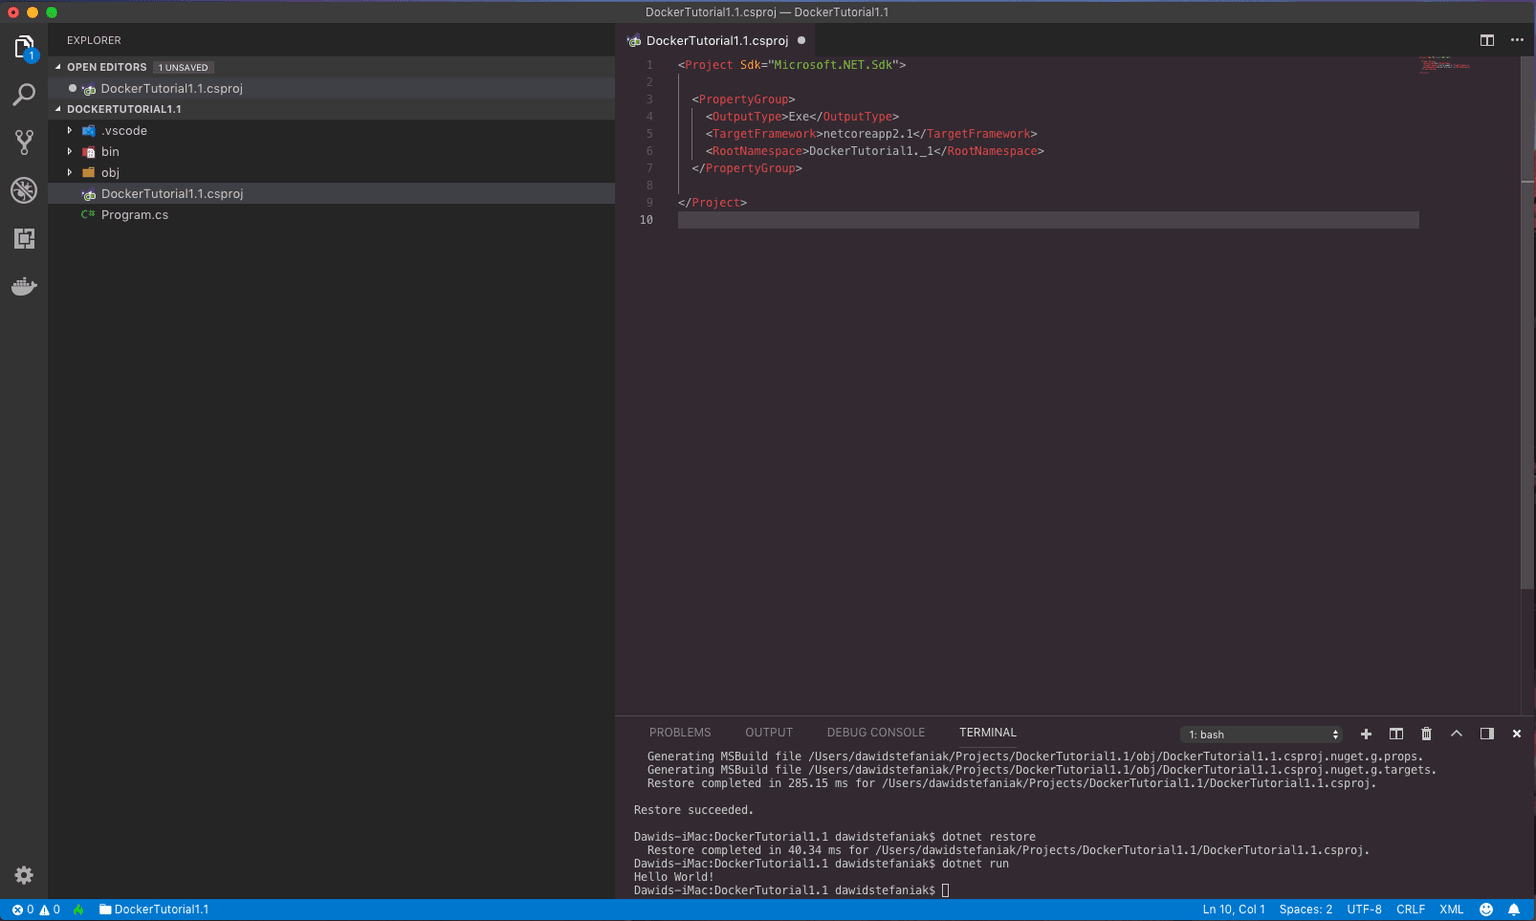
If TargetFramework is pointing to the version 2.1 of .NET Core, you are on the right way. If it's not, just simply change the version to 2.1 and use dotnet restore command. NOTE: Remember to [install .NET Core 2.1 SDK](https://www.microsoft.com/net/download/windows) before starting
Create the Solution
Let's create .NET Core Console Application and run it in our System. The solution which we will prepare is quite small and it will have basic functionality like printing few strings of text and get some input from the user. Let's make our application print "Hello" with the name taken from stdin and also print out the name of the environment to be sure that our solution is actually running on the Linux environment. Use dotnet run command to start the project in Visual Studio Code. In Visual Studio just simply click the run button. The actual output can be seen in the picture below. Remember to always save the file before using dotnet run command. The project used in this example will be available on my GitHub.
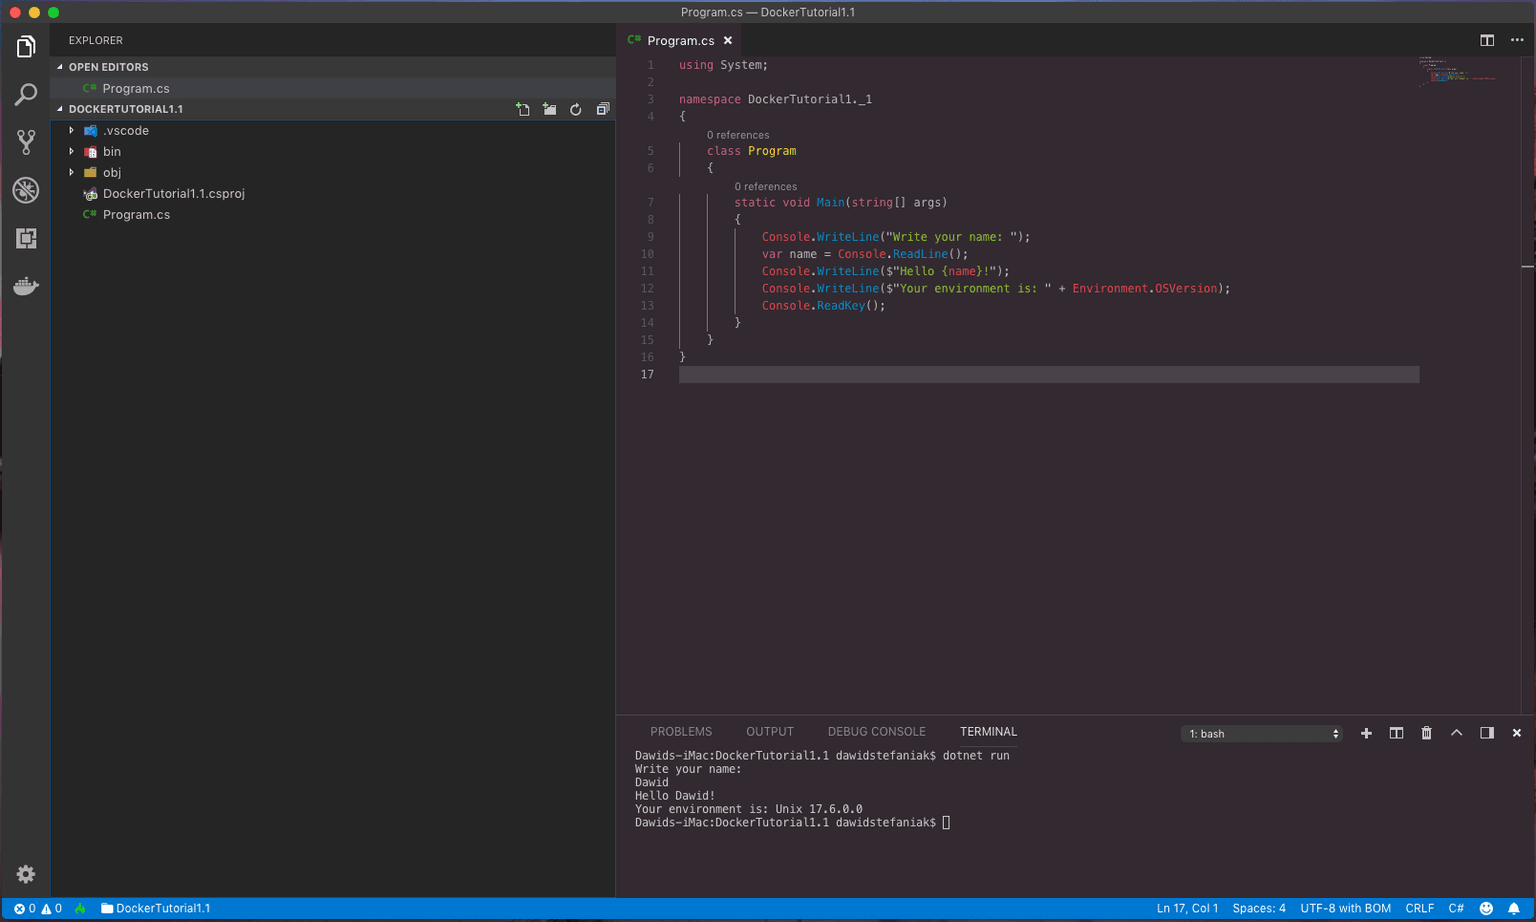
In my case, MacOS is using Unix command line hence my OSVersion is Unix 17.6.0.0 but in your case, it will probably show something different.
Create Dockerfile
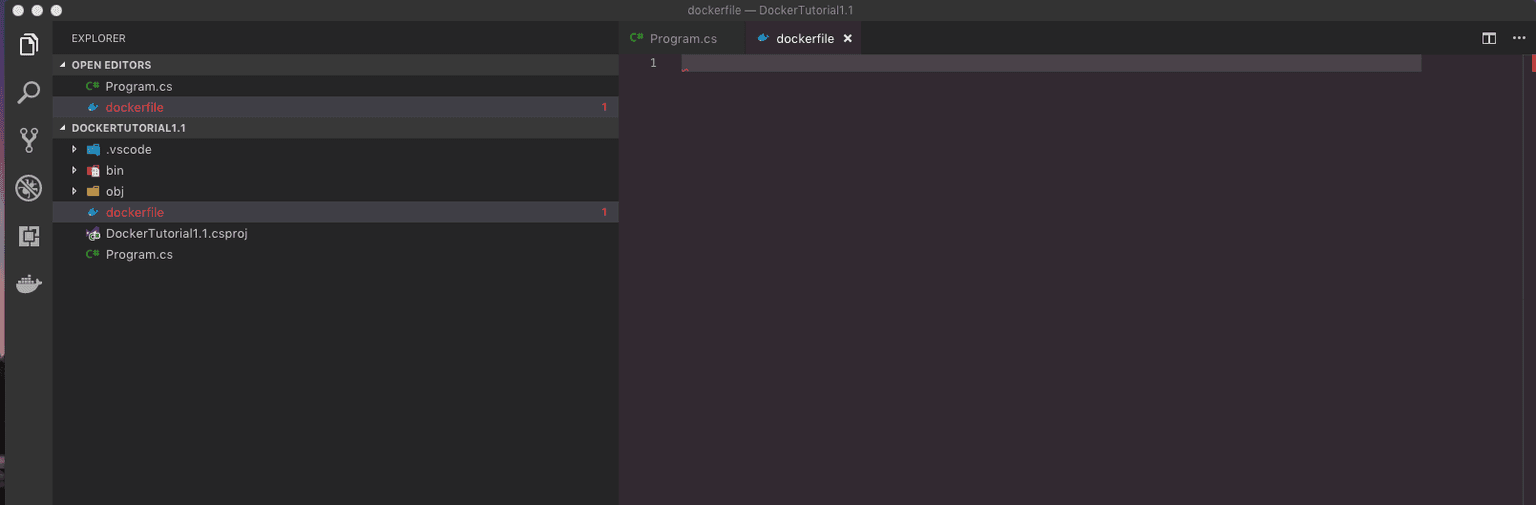
Dockerfile is a special file which gives our docker list of the instructions containing names of the images which will be used to create our container and also a list of the commands to run inside the container after creation. To create new Docker Image firstly, we have to create a new file in the solution folder named dockerfile (without any extension). To do it, right-click on the solution, click add file and name it dockerfile. If you have Docker extension installed in VSCode (I highly recommend to do it), after opening the dockerfile, you will be able to see a nice small docker logo next to the file name.
To create proper dockerfile we have to learn few basic commands:
FROMwhich is pointing on the image we want to use to create a new image. In our case, we will usemicrosoft/dotnet:2.1.300-sdk-stretchimage which will give us the ability to build and run .NET Core 2.1 applications. NOTE: This image is not appropriate for ASP.NET Core 2.1 Applications.WORKDIRwhich is changing the current directory to another.COPYarg1 arg2which copies a file or whole directory fromarg1which is our computer to arg2 which is the directory inside the container. You can use '*' and '.' characters to select files with particular name or extension.RUNis running command inside the container (in containers' terminal)**ENTRYPOINT**is pointing the file which has to be run when you start your container
Our final dockerfile should look as follow:
Starting new Docker Container
If our dockerfile is correctly formatted, we will be able to build the image and run a new container.
The naming convention for the docker image is -creator-/-name-: -tag-
- -it option gives information that our container will run in interactive mode, what means that we can interact with our container using a terminal. Without using this option, our container will not react to any input from the user.
If everything went properly, we will be able to run our program in the container as same as we run it on our own computer.

The output displayed above presents that the version of Unix is 4.9.87.0 what means that our application is running inside the container. To check a list of the images, we can use docker images command.

Summary
Docker is an awesome tool providing the environment for our strict needs which can be easily personalized. Everyone can use the same dockerfile to reconstruct exactly the same environment on every computer with Docker installed. In the next tutorial, I will make you familiar with ASP.NET Core 2.1 applications running in Docker showing basic usage of porting and explanation how to create .yaml configuration files.